The Documents tool allows you to create a shared storage space for important organizational files. You can share these files publicly or only with certain members or Position holders within your organization. You must be either the Primary Contact of your organization or an officer with full access to Documents to upload files to your organization.
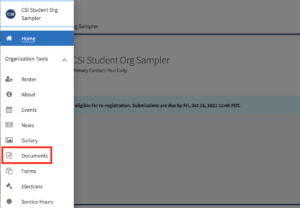
Navigate to the Action Center of your organization and select “Documents” from the Organization Tool Drawer.
Then, decide if you want to upload a single file or create a folder to hold similar files. There is no limit to how many files a single folder can hold. To create a folder, click Add Folder give your folder a title, and set the appropriate level of permission. You can read more about the different levels of visibility you can give to your content.
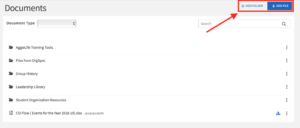
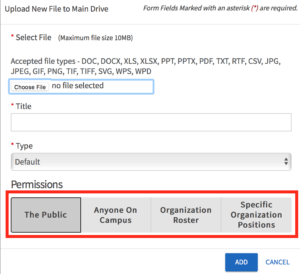
To add an individual file or a file within a folder, click Add File. Select the file by clicking the Upload button. The maximum file size for a single file is 10MB. The title of the file will automatically generate with the name of the document, but you are free to change it as you see fit. Then, assign the document to a type. These types are created by your site administrators to help you categorize your files. You will be able to sort through your files by type when searching for a specific document. Finally, select the permission level you would like your document to have. Keep in mind that a folder will need to be visible to a user in order for that user to see the documents within it. For example, if a Folder is set to Organization Roster but a file within it is set to Public, that file would still only be viewable to users who are also able to view the folder. Click Add to upload your file.